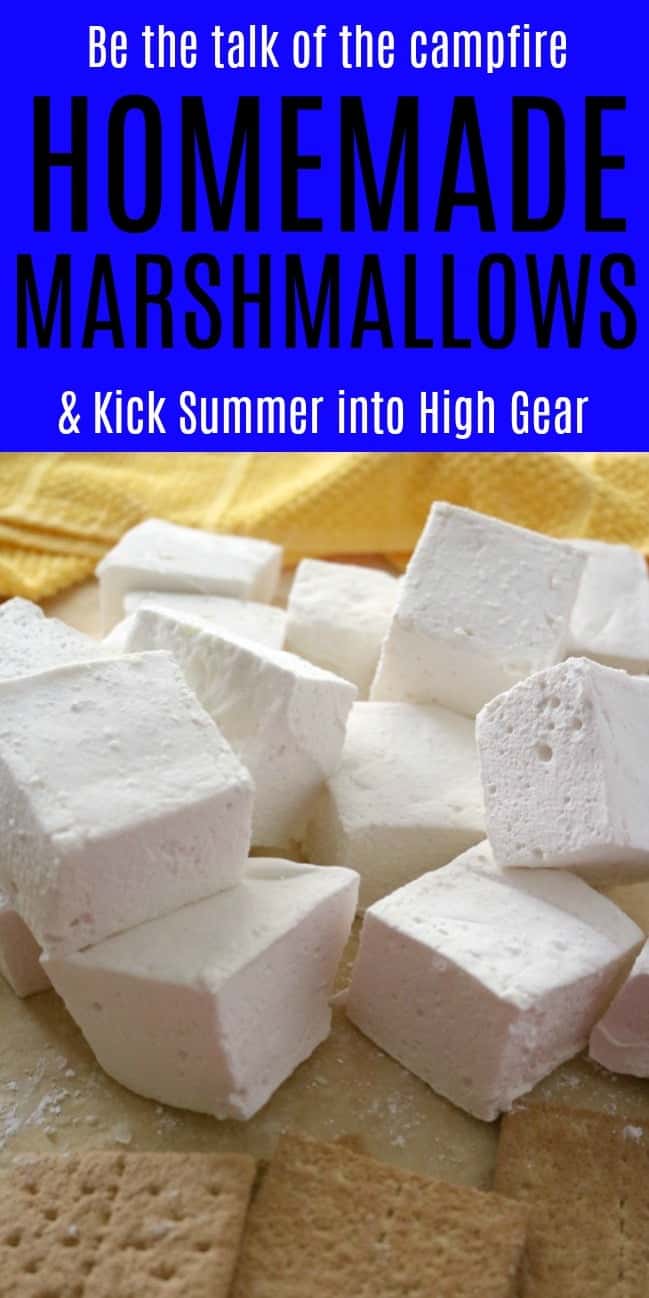
Be the talk of the campfire with these homemade marshmallows in your S’mores this summer! These easy-to-make marshmallows take just 20 minutes plus set-up time to create fluffy marshmallows for your next summer adventure.
Warning: Once you try homemade marshmallows, you may never go back!

Be the talk of the campfire with these homemade marshmallows in your S’mores this summer! These easy-to-make marshmallows take just 20 minutes plus set-up time to create fluffy marshmallows for your next summer adventure.
MAKING HOMEMADE MARSHMALLOWS IS SIMPLE WITH THIS ONE TIP:
Lightly oil the spatula and your fingertips to prevent the marshmallow from sticking.
The one accessory I believe you absolutely do need for this project is a candy thermometer [paid link] with a clip to hang it on the side of the pan – it just makes the whole process easier of getting the sugar up to softball (240 degrees F).
Surprisingly, making marshmallows from scratch takes only about 10 minutes on the stove plus the 10-12 minutes they whip on the stand mixer [paid link]. After that, the marshmallows will require some time to set up in the 3-qt baking pan [paid link], sheet pan [paid link], or 8-inch square baking pan [paid link] depending on the type of marshmallows you wish to make.
Ingredients for homemade marshmallows?
- Corn syrup
- Granulated sugar
- Water
- Salt
- Vanilla
- Gelatin
Instructions
- Prepare the Gelatin -Combine all three packets of gelatin with 1/2 cup of the cold water in the bowl of a stand mixer [paid link]. [See Note 3] Have the whisk [paid link] attachment ready and waiting.
- Prepare the Sugar – Combine the remaining 1/2 cup cold water, granulated sugar, corn syrup, and salt in a 2-quart saucepan [paid link]. Place over medium-high heat, cover, and allow to cook for 3 to 4 minutes. Uncover and clip a candy thermometer [paid link] onto the side of the pan. Continue to cook sugars until the mixture reaches 240 degrees F (softball), approximately 7 to 8 minutes. When the mixture reaches this temperature, immediately remove it from the heat.
- Carefully pour the hot sugar syrup into the bowl with the gelatin mixture. Gradually increase the mixer speed to high and whip until the mixture becomes very thick and is lukewarm, approximately 10 to 12 minutes. Add the vanilla during the last minute of whipping.
- Prepare the pan – Combine the confectioners’ sugar and cornstarch in a small bowl. Lightly spray a 13 by 9-inch (3-qt) metal baking pan with nonstick cooking spray. Add the sugar and cornstarch mixture and move around to completely coat the bottom and sides of the pan. Return the remaining mixture to the bowl for later use. Note: For mini marshmallows, use a rimmed sheet pan [paid link] or for jumbo marshmallows, use an 8-inch square baking pan [paid link].
- Set Up – When ready, pour the mixture into the prepared pan, using a lightly oiled spatula for spreading evenly into the pan. Dust the top with enough of the remaining sugar and cornstarch mixture to lightly cover. Reserve the rest for later. Allow the marshmallows to sit uncovered for at least 4 hours and up to overnight to set up.
- Cut – Turn the marshmallows out onto a cutting board [paid link] and cut them into 1-inch squares using a pizza wheel or knife dusted with the confectioners’ sugar mixture. Once cut, lightly dust all sides of each marshmallow with the remaining mixture, using additional if necessary. I do this in a zip-top bag and shake it vigorously. The bag also serves as my air-tight storage container.
- Store – Store in an airtight container (or zip-top bag) for up to a month.
Notes:
- Unflavored gelatin is usually sold on the baking aisle or near the flavored gelatine mixes. We use the Knox brand unflavored gelatine. Each packet contains 0.25 ounces of gelatine which is about 2 1/2 teaspoons.
- For flavored marshmallows, omit the pure vanilla extract [paid link] and replace with an equal amount of the flavor extract of your choice.
- A hand mixer [paid link] can be used but this mix takes a long time to whip and gets pretty thick which could cause a smaller hand mixer [paid link] to overheat.
- Nutritional information is based on cutting 32 marshmallows from the average 13×9-inch (3-qt) baking pan.
How long do homemade marshmallows last?
Store these marshmallows in an air-tight container for up to a month.
How do I cut homemade marshmallows?
How to cut homemade marshmallows depends on your purpose. I find using a pizza wheel easiest but you can also use a knife coated in cornstarch. You can also use cookie cutters (also coated in cornstarch) to cut cute shapes.
Today, I’ve cut oversized marshmallows for the purpose of s’mores for an upcoming fishing and camping trip.
How Do I Prevent Homemade Marshmallow From Sticking To Everything?
To prevent the marshmallow from sticking to the rubber spatula and any other utensil you use for scooping it out of the mixing bowl [paid link], lightly oil them to prevent the marshmallow from sticking. I did this with non-stick cooking spray but you could use a light cooking oil – like canola, coconut or even butter.
Once cut, toss marshmallows in a 1:1 combination of cornstarch and powdered (confectioner’s) sugar to coat the sticky edges and keep them from clumping together.
How do I make flavored marshmallows?
You can change the flavoring and color of your marshmallows simply by adding flavor extracts like peppermint or cherry along with a few drops of food coloring (optional).
Do Homemade Marshmallows taste better?
Yes! We believe that homemade marshmallows absolutely taste better than their manufactured counterparts.
Can I roast homemade marshmallows?
Absolutely! My daughter enjoyed a S’more made with Ghirardelli chocolate squares – which are already so good on their own but spectacular in a S’more, too.

Homemade Marshmallows
Equipment
- 2-quart saucepan [paid link]
Ingredients
- 3 individual packets (0.75 ounces) unflavored gelatin [See Note 1]
- 1 cup cold water , divided.
- 1-1/2 cups granulated sugar
- 1 cup light corn syrup
- 1/4 teaspoon fine kosher salt
- 1 teaspoon pure vanilla extract [See Note 2]
- 1/4 cup confectioners’ (powdered) sugar
- 1/4 cup cornstarch
Instructions
- Prepare the GelatinCombine all three packets of gelatin with 1/2 cup of the cold water in the bowl of a stand mixer [paid link]. [See Note 3] Have the whisk [paid link] attachment ready and waiting.
- Prepare the Sugar:Combine the remaining 1/2 cup cold water, granulated sugar, corn syrup, and salt in a 2-quart saucepan [paid link]. Place over medium- high heat, cover and allow to cook for 3 to 4 minutes. Uncover and clip a candy thermometer [paid link] onto the side of the pan. Continue to cook sugars until the mixture reaches 240 degrees F (soft ball), approximately 7 to 8 minutes. When the mixture reaches this temperature, immediately remove from the heat.
- Carefully pour the hot sugar syrup into the bowl with the gelatin mixture. Gradually increase the mixer speed to high and whip until the mixture becomes very thick and is lukewarm, approximately 10 to 12 minutes. Add the vanilla during the last minute of whipping.
- Prepare the pan: Combine the confectioners’ sugar and cornstarch in a small bowl. Lightly spray a 13 by 9-inch (3-qt) metal baking pan with nonstick cooking spray. Add the sugar and cornstarch mixture and move around to completely coat the bottom and sides of the pan. Return the remaining mixture to the bowl for later use. Note: For mini marshmallows, use a rimmed sheet pan [paid link] or for jumbo marshmallows, use a 8-inch square baking pan [paid link].
- When ready, pour the mixture into the prepared pan, using a lightly oiled spatula for spreading evenly into the pan. Dust the top with enough of the remaining sugar and cornstarch mixture to lightly cover. Reserve the rest for later. Allow the marshmallows to sit uncovered for at least 4 hours and up to overnight to set-up.
- Turn the marshmallows out onto a cutting board [paid link] and cut into 1-inch squares using a pizza wheel or knife dusted with the confectioners’ sugar mixture. Once cut, lightly dust all sides of each marshmallow with the remaining mixture, using additional if necessary. I do this in a zip-top bag and shake it vigorously. The bag also serves as my air-tight storage container.
- Store in an airtight container (or zip-top bag) for up to a month.
Notes
- Unflavored gelatin is usually sold on the baking aisle or near the flavored gelatine mixes. We use the Knox brand unflavored gelatine. Each packet contains 0.25 ounces of gelatine which is about 2 1/2 teaspoons.
- For flavored marshmallows, omit the pure vanilla extract [paid link] and replace with an equal amount of the flavor extract of your choice.
- A hand mixer [paid link] can be used but this mix takes a long time to whip and gets pretty thick which could cause a smaller hand mixer [paid link] to overheat.
- Nutritional information is based on cutting 32 marshmallows from the average 13×9-inch (3-qt) baking pan.

plis send it also to my email adress
Saw these in Pinterest and gave them a try. Way easier than I ever imagined and I honestly just could not get over the flavor and texture difference.
I really didn’t think it was that easy either. Can’t wait for the campfire next week to try them out!
Love your website, the recipes bring me out of my comfort zone. I made these and was surprisingly easy and tasted so good. Ty