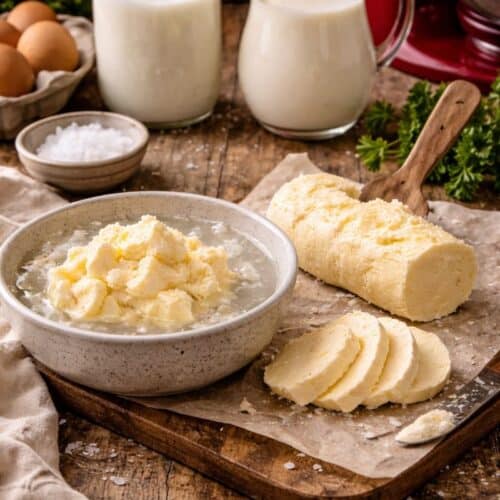
Homemade Butter
Learn how to make homemade butter with just cream and a jar. Easy, fun, and beginner-friendly—with real buttermilk as a bonus!
Ingredients
- 4 cups Heavy Cream very cold works best
- 1 tsp Salt optional, to taste
Instructions
Homemade butter with an Electric Mixer
- Pour cream into a mixing bowl. Beat on medium speed. Watch it go from: Cream → whipped cream → over-whipped → butter + liquid. Stop once large butter clumps form. Pro tip: Cover the bowl loosely. Buttermilk likes to splatter.
- Rinse the Butter (Don’t Skip This!) This step helps your butter last longer. Scoop the butter into a bowl. Pour cold water over it. Gently press and squeeze the butter. Drain and repeat until the water runs clear. Think of it as a spa day for your butter.
- Sprinkle in salt to taste & mix gently.
- Shape it however you like: Roll it in parchment, press into a small dish, scoop and store in a jar.
Homemade Mason Jar Butter
- Pour cream into the jar. Don’t overfill—give it room to move. Screw the lid on tight. Shake the jar like you mean it. First, it sloshes. Then it thickens. Then suddenly… thud—butter forms! Keep shaking until the butter clumps clearly separate from the liquid.
- Rinse the Butter (Don’t Skip This!) This step helps your butter last longer. Scoop the butter into a bowl. Pour cold water over it. Gently press and squeeze the butter. Drain and repeat until the water runs clear. Think of it as a spa day for your butter.
- Sprinkle in salt to taste & mix gently.
- Shape it however you like: Roll it in parchment, press into a small dish, scoop and store in a jar.
Notes
What About the Liquid? (Hello, Buttermilk!)
That leftover liquid is real buttermilk, not the store-bought substitute. Use it for:- Pancakes
- Biscuits
- Cornbread
- Fried chicken