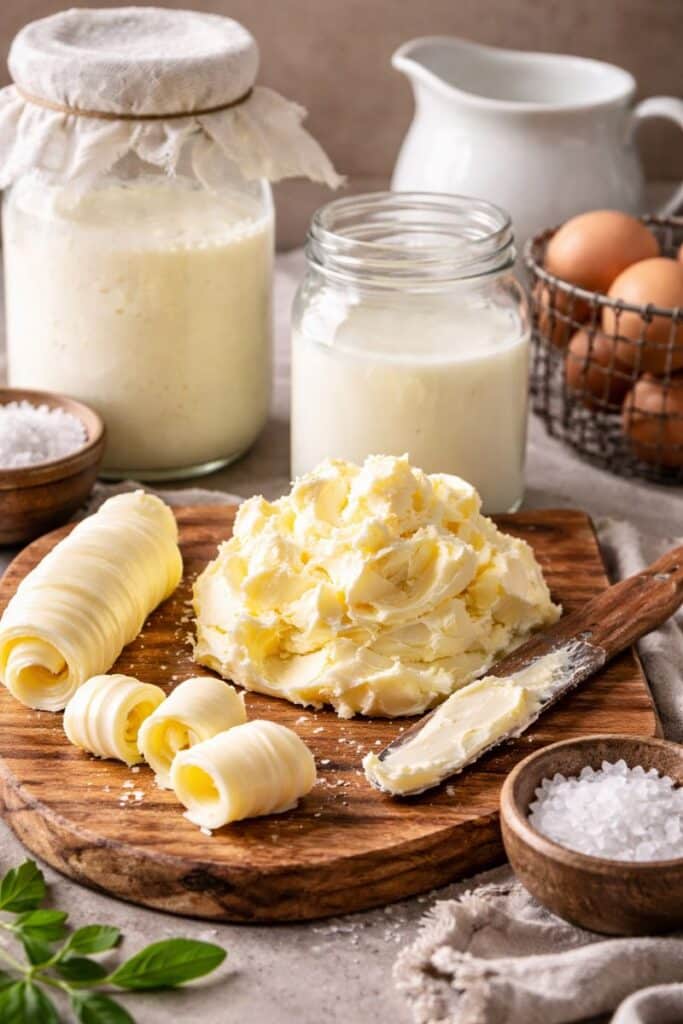
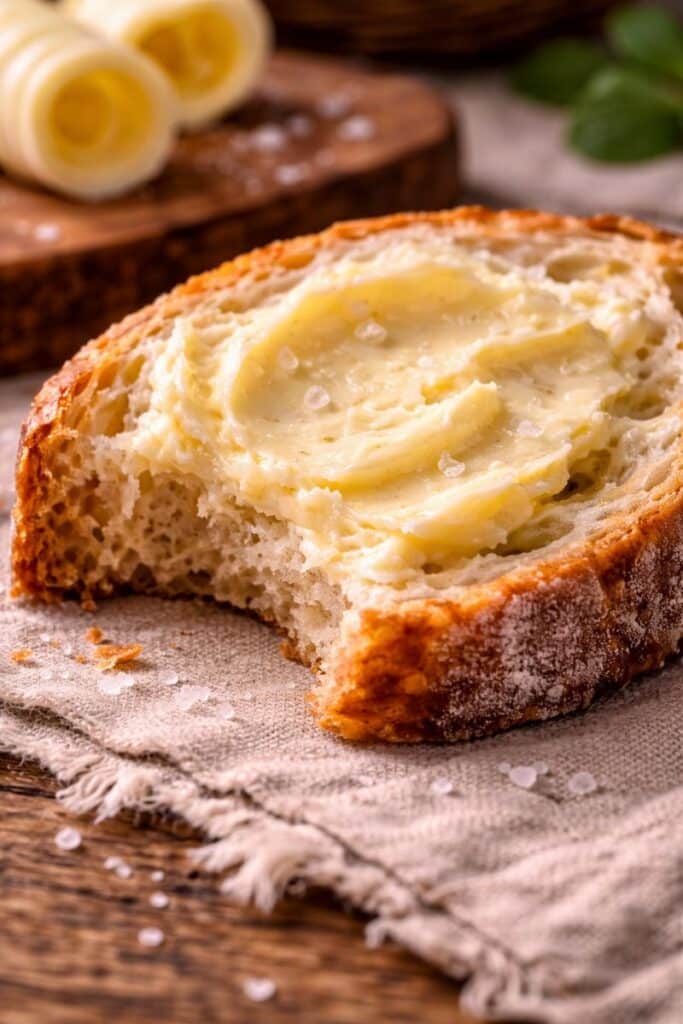
If you’ve ever tasted real French butter, you know it’s not just “butter.” It’s richer. Creamier. Slightly tangy. The kind of butter that makes a slice of warm bread feel like a five-star restaurant moment.
The best part? You can make homemade French butter right in your own kitchen using just cream and a little patience. No special equipment. No fancy ingredients. Just an old-fashioned process that turns everyday cream into something truly special.
This easy cultured butter recipe at home is perfect for farmhouse kitchens, slow weekends, and anyone who believes simple food should taste amazing.
Let’s make butter the way the French do.
What Is French Butter?
French butter is typically cultured butter, meaning the cream is allowed to ferment slightly before being churned. This gives it:
- A deeper, more complex flavor
- A subtle tang
- A richer mouthfeel than regular butter
In the United States, most store-bought butter is made from sweet cream that has not been cultured. That’s why French butter tastes different.
When you make homemade cultured butter, you are recreating that traditional European method right at home.
Why Make Homemade French Butter?
You might be thinking, “Butter is cheap. Why bother making it?” Here’s why:
- Flavor: Store-bought butter can’t touch the depth of homemade cultured butter.
- Ingredients: You control what goes in. No preservatives, fillers, or stabilizers.
- Satisfaction: There is something deeply comforting about making a kitchen staple from scratch.
- Versatility: Use it on bread, in baking, on vegetables, seafood, or anywhere butter belongs.
If you love farmhouse cooking, homemade butter fits perfectly into that simple, thoughtful way of eating.
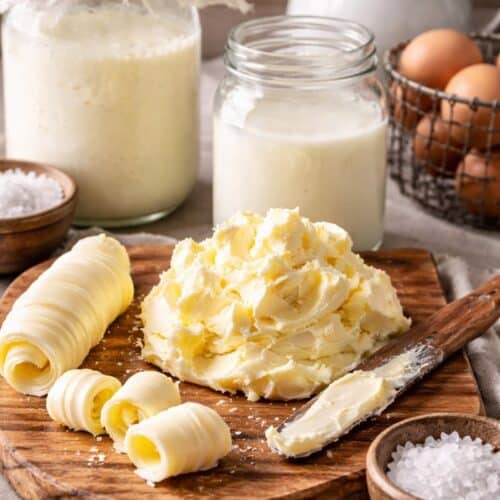
Ingredients for Homemade French Butter
You only need two basic ingredients.
Ingredients
- Heavy cream (at least 36% fat, not ultra-pasteurized if possible)
- Cultured buttermilk or live-culture yogurt (optional, for culturing)
That’s it.
The Best Cream for Homemade Butter
The quality of your butter depends entirely on your cream.
What to Look For:
- High fat content: 36–40% is ideal
- Not ultra-pasteurized: Regular pasteurized cream works best for culturing
- Fresh: The fresher the cream, the better the butter
If your store only carries ultra-pasteurized cream, you can still make butter, but culturing may take longer and flavor may be slightly milder.
Cultured vs Regular Butter: What’s the Difference?
| Feature | Cultured (French) Butter | Regular Butter |
|---|---|---|
| Flavor | Rich, tangy, complex | Mild, sweet |
| Process | Cream is fermented first | Cream is churned immediately |
| Texture | Softer, creamier | Firmer |
| Uses | Bread, pastries, sauces | General cooking |
French butter = cultured butter. That fermentation step is what gives it its signature taste.

How to Make French Butter at Home
This process has two main stages:
- Culturing the cream
- Churning the butter
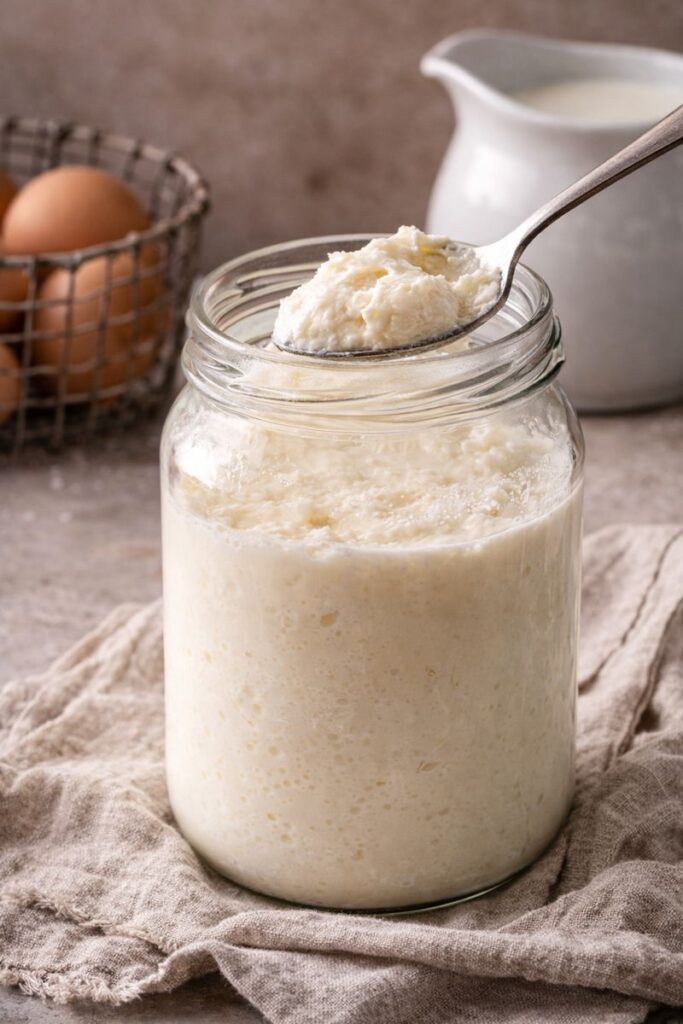
Step 1: Culture the Cream
Pour your heavy cream into a clean glass jar or bowl.
If using a culture:
- Add 1 tablespoon of buttermilk or yogurt per cup of cream
- Stir gently
Cover loosely and let sit at room temperature for 12–24 hours. The cream should thicken slightly and develop a mild tang.
This step is what turns your butter into true French-style cultured butter.
If you skip culturing, you’ll still get homemade butter—but it will be sweet cream butter, not French butter.
Step 2: Chill the Cream
Once cultured, place the cream in the refrigerator for 1–2 hours. Cold cream churns more efficiently.
Step 3: Churn the Butter
You can churn in:
- A stand mixer [paid link]
- A food processor [paid link]
- A mason jar (old-school style)
Beat or shake until:
- The cream becomes whipped
- Then grainy
- Then separates into butter solids and buttermilk
This usually takes 5–10 minutes with a mixer.
Step 4: Drain the Buttermilk
Pour off the liquid buttermilk and save it for:
- Pancakes
- Biscuits
- Mashed potatoes
What remains is fresh butter.
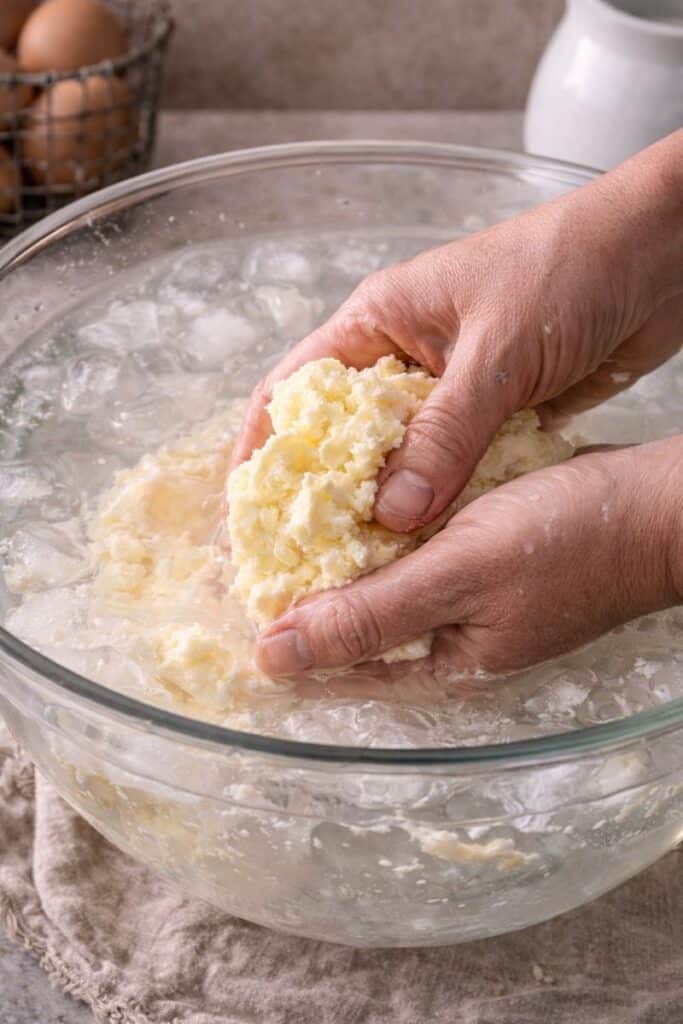
Step 5: Wash the Butter
Place the butter in a bowl of ice-cold water. Gently knead and squeeze it to remove any remaining liquid. Drain and repeat until the water runs clear.
This step improves shelf life and texture.
Step 6: Shape and Store
Shape the butter into:
- A log
- A rustic mound
- Or press into a dish
Add a pinch of salt if desired. Wrap tightly and refrigerate.
You’ve just made homemade French butter.
What Makes French Butter Different?
French butter stands apart because of three things:
- Culturing: Fermentation adds depth of flavor.
- Higher Fat Content: Richer mouthfeel.
- Traditional Methods: Fewer additives, more craftsmanship.
That’s why it tastes so luxurious on something as simple as warm bread.
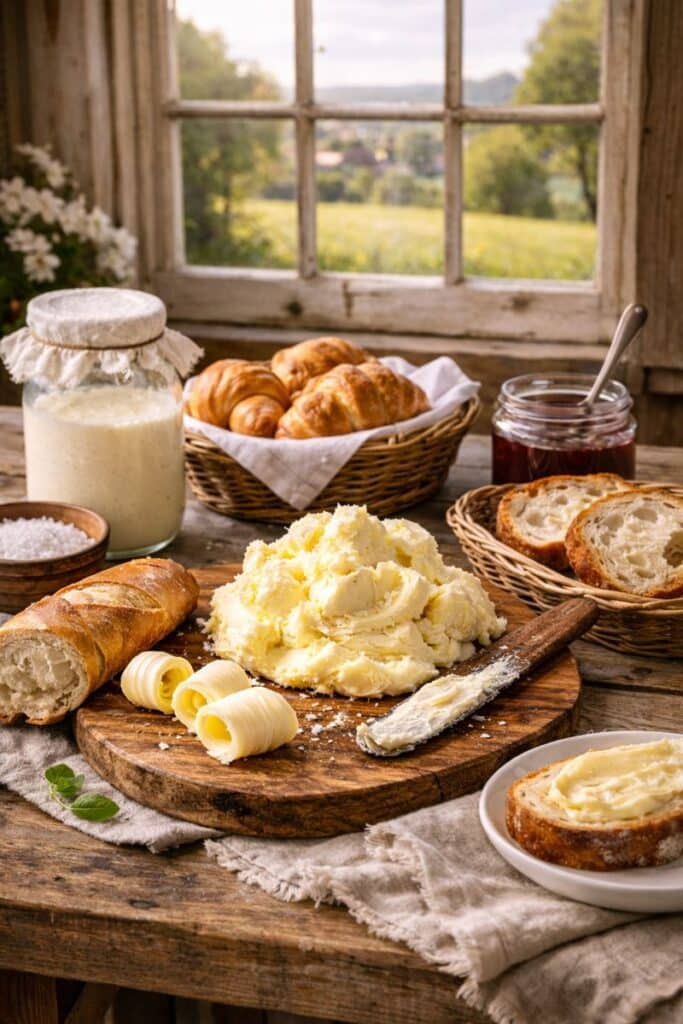
How to Use Homemade French Butter
This butter deserves the spotlight.
- Spread on crusty bread or scones
- Melt over roasted vegetables
- Finish seafood or steak
- Use in pastry dough
- Stir into mashed potatoes
- Top pancakes or waffles
Once you try it, regular butter starts to feel… well, a little boring.
Storage Tips
- Refrigerator: 7–10 days
- Freezer: Up to 6 months
Wrap tightly to prevent absorbing fridge odors.
Frequently Asked Questions
Is French butter the same as cultured butter?
Yes. Traditional French butter is cultured, meaning the cream is fermented before churning. That’s what gives it its signature tangy, rich flavor.
Can I make French butter without a culture?
You can make butter without culturing, but it will be sweet cream butter, not true French butter. Culturing is what creates that classic flavor.
How long does homemade French butter last?
When properly washed and stored:
- Refrigerator: About 1 week
- Freezer: Up to 6 months
Adding salt can extend shelf life slightly.
Can I use ultra-pasteurized cream?
Yes, but culturing may take longer and flavor may be less complex. For best results, use regular pasteurized cream.
What does French butter taste like?
It is:
- Richer than regular butter
- Slightly tangy
- More complex and savory
It’s the kind of flavor you notice immediately.
Why do I need to wash the butter?
Washing removes leftover buttermilk, which helps:
- Prevent spoilage
- Improve texture
- Extend storage life
Final Thoughts: Living Farmhouse Style
Making homemade French butter isn’t about being fancy. It’s about slowing down and reconnecting with the way food used to be made—simply, thoughtfully, and with care.
Farmhouse living isn’t just about wood tables and mason jars. It’s about choosing quality over convenience. About knowing what’s in your food. About finding joy in the process, not just the result.
When you churn butter, shape it on your counter, and spread it over warm bread, you’re not just making a recipe. You’re keeping a tradition alive.
And in a world that moves too fast, there’s something powerful about that.

homemade French butter
Ingredients
- 4 cups heavy cream (at least 36% fat; not ultra-pasteurized if possible)
- 4 tablespoons plain Greek yogurt (full-fat, with live cultures)
- Flaky sea salt , to taste
Instructions
Culture the Cream
- In a clean glass jar or bowl, combine 4 cups heavy cream with 4 tablespoons plain Greek yogurt. Stir gently until fully mixed. Cover loosely and let sit at room temperature for 12–24 hours, until slightly thickened with a mild tang.
Chill Before Churning
- Transfer the cultured cream to the refrigerator and chill for 1–2 hours. Cold cream separates more easily during churning.
Churn the Cream
- Pour the chilled cream into a stand mixer [paid link], food processor [paid link], or large jar. Mix or shake on medium speed. The cream will first become whipped, then grainy, and finally separate into butter and liquid buttermilk. This takes 5–10 minutes.
Drain the Buttermilk
- Strain off the liquid buttermilk and reserve for baking if desired. The remaining solids are fresh butter.
Wash the Butter
- Place the butter in a bowl of ice-cold water. Gently knead and press to release any remaining buttermilk. Drain and repeat with fresh cold water until the water runs clear.
Season with Sea Salt
- Sprinkle the butter with flaky sea salt, to taste, and gently fold until evenly incorporated.
Shape and Store
- Shape into a mound or log, wrap tightly, and refrigerate for up to 1 week or freeze for longer storage.


I was trying to get more of a tang but it was still very good.