Used in so many dishes all over Asia and the Pacific Rim, being able to make Homemade Asian Rice Noodles in the pasta maker is an awesome addition to any cook’s repertoire.
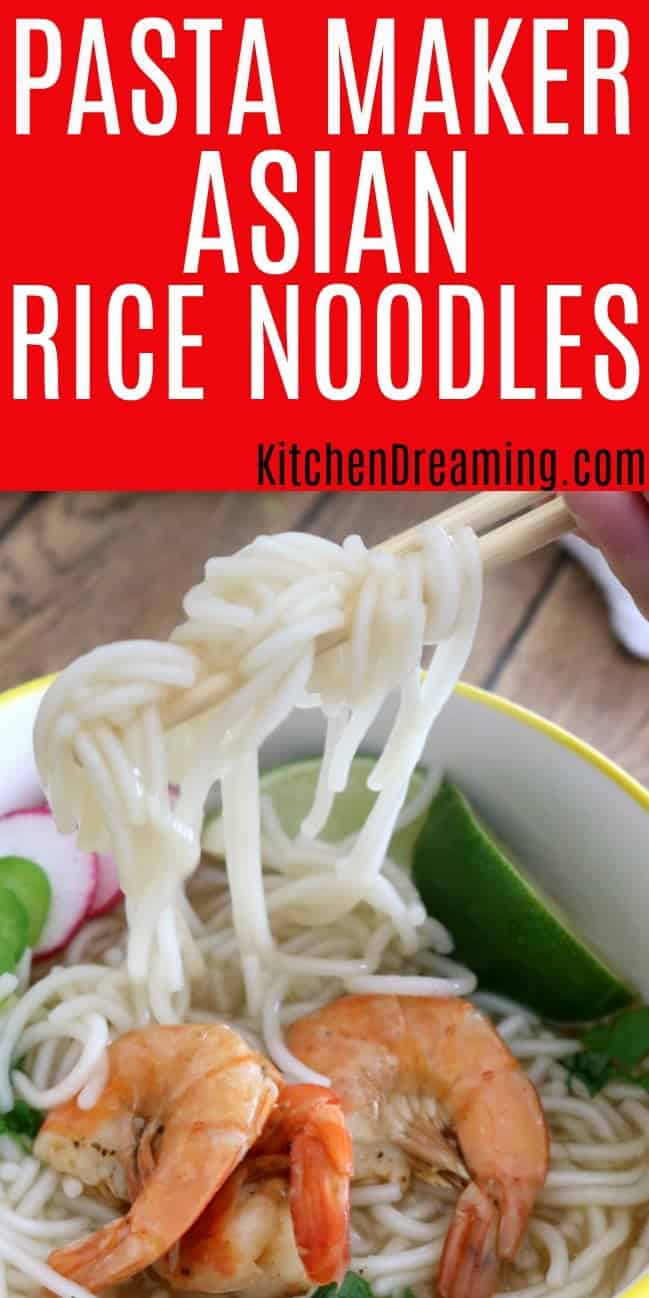
My husband bought me a Philips Avance Pasta Maker [paid link] and I just L-O-V-E it!
The recipe book that came with my machine showcased 9 different type of pasta noodles that can be prepared in the machine which was awesome! What it didn’t include, however, were recipes for Homemade Asian Rice Noodles. Bummer.
Rice noodles are a favorite in our house, especially for Vietnamese, Korean and Thai cooking. So being able to make them in my pasta machine was an absolute must for us.
I read the forums and learned that the recipe for the rice noodles did exist but only in the Japanese version of the Philips Noodle Maker cookbook. As hard as I tried, I could not find the Philips Noodle Maker Japanese recipe boo
I almost gave up when I did one last seemingly futile search for rice noodles and found exactly what I was looking for on the Please Give Peas A Chance blog. She had made the exact recipe I’d been searching for using the same ingredients people were discussing on the forums – and that I saw on youtube. I was elated to finally have some weights and products I could work with.
Finally, Homemade Rice Noodles were going to be mine all mine!!
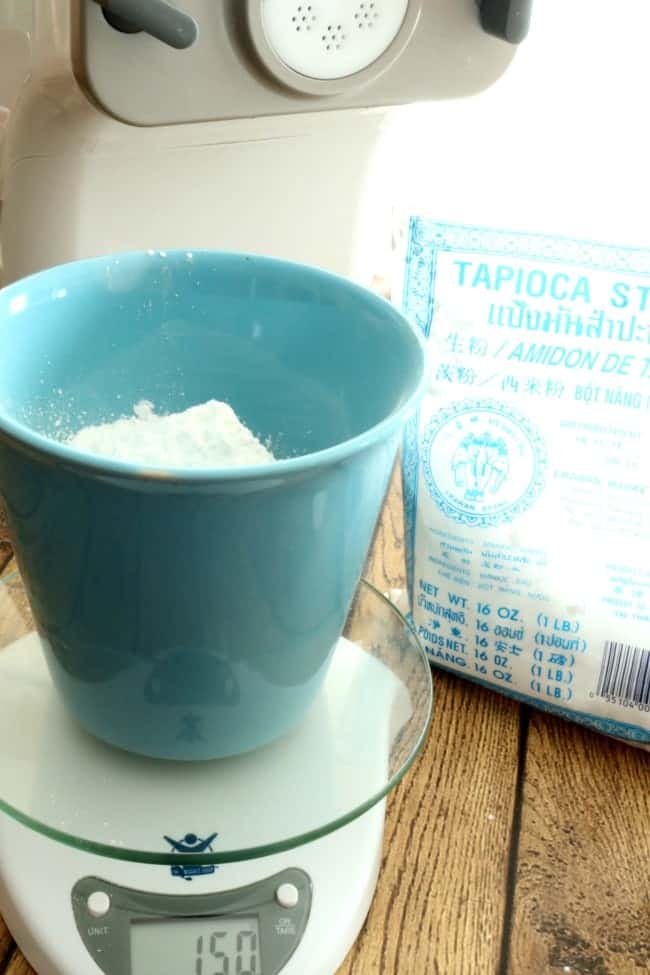
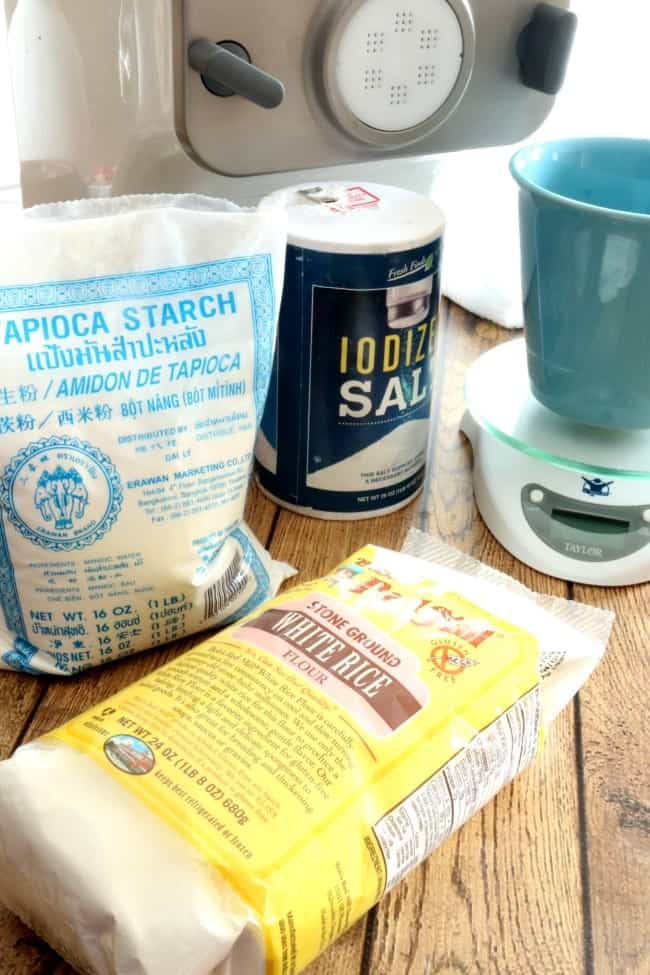
While rice flour [paid link] is readily available in the grocery store, my store does not carry tapioca flour [paid link] even in the gluten-free section. I ended up heading over to the local Asian market and picked up a bag for about $0.99 USD.
The Philips Pasta Maker works best with exact weights. If you do not have a digital food scale [paid link] you can pick one up pretty cheap on Amazon.
For this recipe, I used 150 grams of flour which I weighed on a digital food scale [paid link].
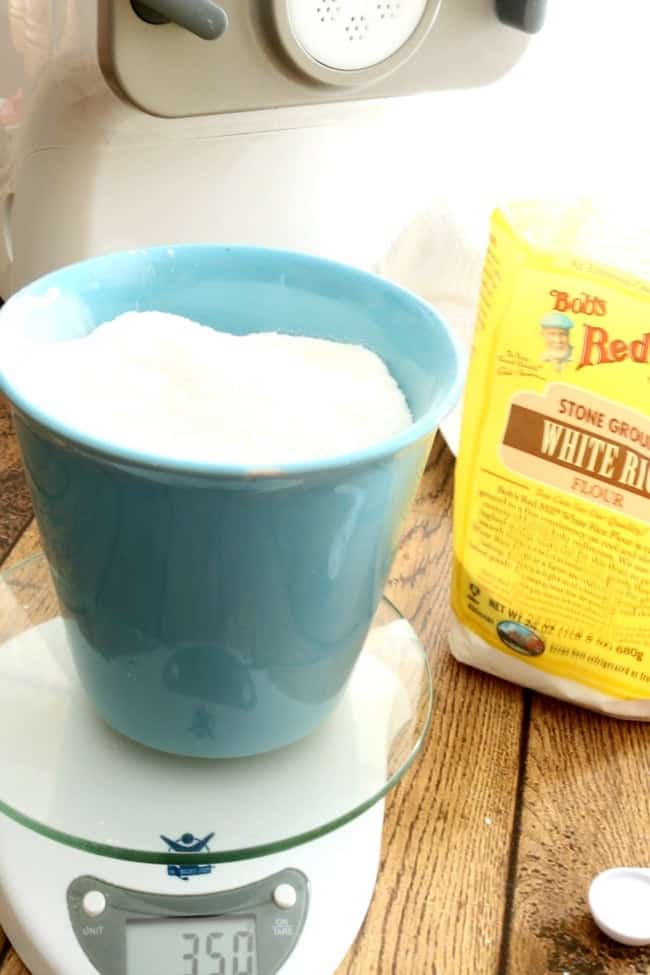
The rice flour [paid link] at the Asian market was also only $1.49 USD where the rice flour [paid link] found in the gluten-free section of my grocery was $2.99 USD. For this recipe, I weighed exactly 350 grams of rice flour [paid link].
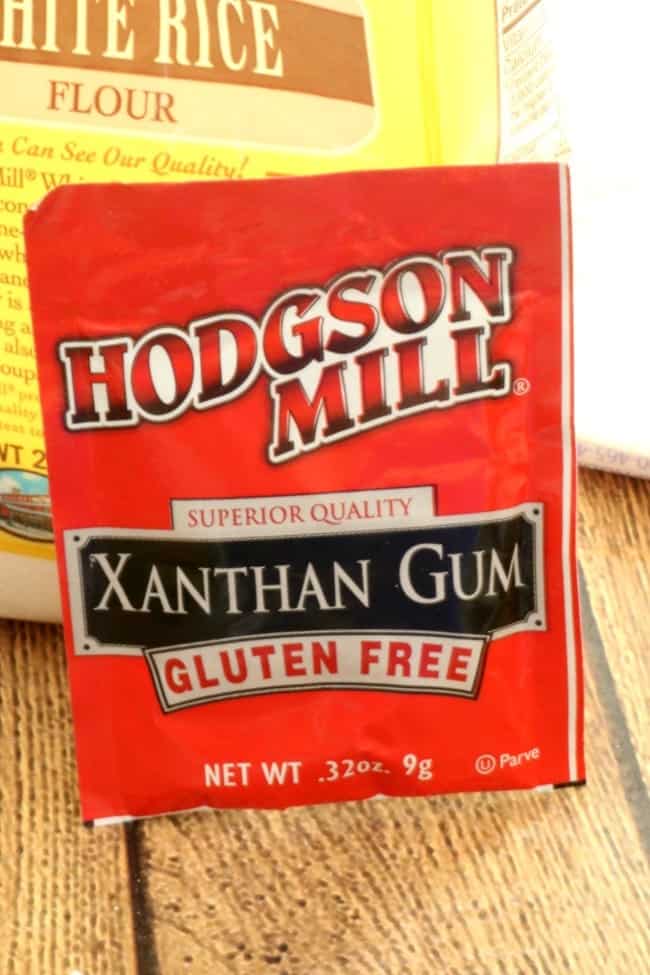
In the gluten-free section of the market, the grocery store sells Xanthan Gum [paid link] by the single packets for $0.78 USD vs an entire box of packets for about $12 USD. If you only need a packet or two and may never use it again, go ahead and just grab a packet.
Xanthan Gum [paid link] is a gluten-free additive that is used in many products as a thickening agent, or as a stabilizer to prevent separation of ingredients.
For this recipe, we will use one packet (0.32 oz or 1 tablespoon) of Xanthan Gum [paid link].
Alternatives to Xanthan Gum
I have not tested any of these substitutes for Xanthan Gum [paid link], but you’re welcome to try them out. I cannot say what they will do for the recipe or how they will react in the machine and extruder.
- Psyllium Husk
- Chia seeds and water
- Ground flax and water
- Cornstarch
- Unflavored gelatin
- egg whites
- Agar agar
- Guar gum
- Konjac powder
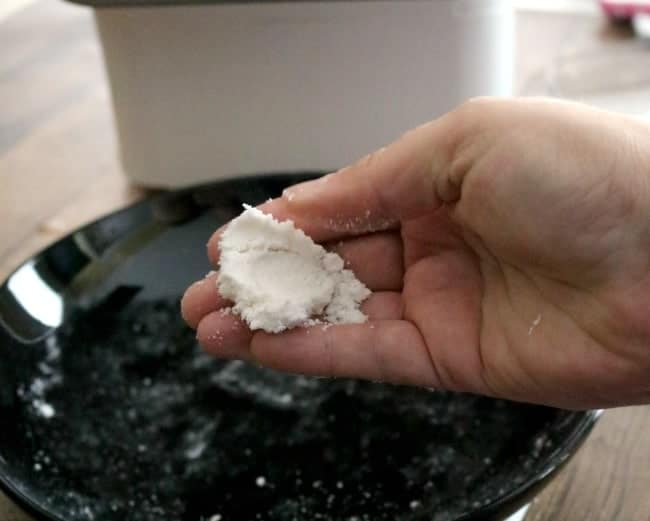
The dough used by the Philips pasta machine is not traditional, to say the least, but it allows a novice to really be able to turn out a batch of fresh pasta or noodles in as little as 10-minutes a batch. As the dough cycles, you will see that it seems to look dry and crumbly. Resist the urge to add more water. Dough that is too wet will clog the extruder.
If you are unsure, pause the cycle and grab a bit of the mixture. If when you squeeze it between your fingers it binds together without being wet – it’s a perfect consistency. If the dough is too wet, it will clog the extruder.
The dough texture pictured here is absolutely perfect!
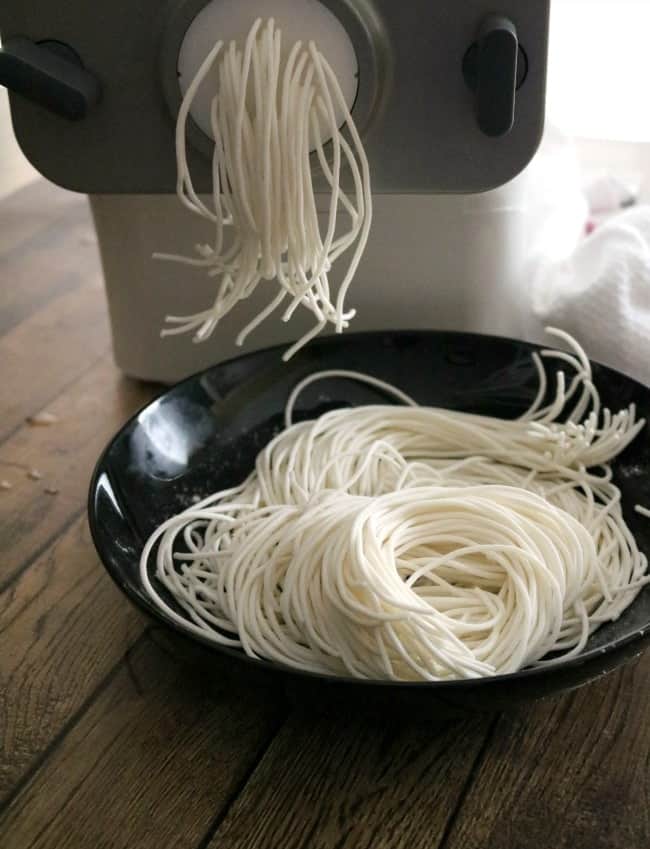
For our noodles, I used the spaghetti disc that comes with the machine. We also purchased the Philips Advance Pasta Machine Accessory Discs [paid link] which included angel hair pasta and pappardelle pasta discs.
The smaller angel hair sized disc does not work with this dough. The pappardelle disc, fettuccine disc, or pasta noodle discs all work well with this recipe. Once extruded, I cooked the noodles right away in a shallow pan of boiling water.
Once cooked, I drained and cooled the noodles and then portioned them into smaller servings, placed them in individual zip-top bags and placed them in the freezer.
Noodles may be stored in the freezer for up to 30 days. Freshly cooked noodles may be kept in the refrigerator for up to 7 days.
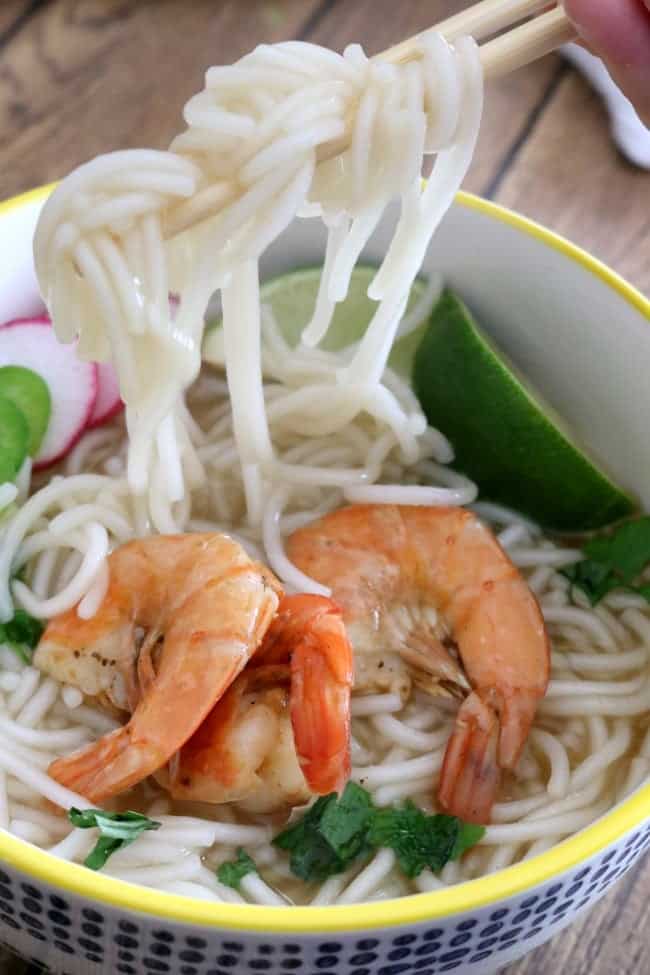
Used in so many dishes all over Asia and the Pacific Rim, being able to make Homemade Asian Rice Noodles in 10 to 15-minutes is an awesome addition to any cook’s repertoire.
Notes for the Philips Viva Compact Pasta Maker:
This recipe ( as originally written) is too large for the Philips Viva Compact Pasta Machine. However, by calculating a 3/4 batch of this recipe, we can arrive at the 400 gram capacity of the Philips Viva compact machine. Using a calculated 75% of the original recipe size we get a gram weight closer to a full batch for the viva compact (374 grams). I have included instructions for this in the notes of the recipe below.
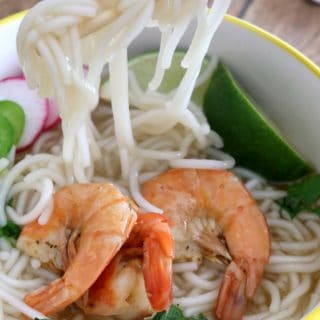
Philips Pasta Maker: Homemade Asian Rice Noodles
Ingredients
- 150 grams Tapioca Flour [paid link]
- 350 grams Rice Flour [paid link]
- 1/2 teaspoon salt
- 1 tablespoon Xantham Gum
- 200 ml water
Instructions
- Place dry ingredients into the machine.
- Turn it on to the 600 gram/ volume; setting two.
- Start the machine and allow the ingredients to mix for 30 seconds before slowly adding the water. The dough will look dry but will come together when it goes into the extruder. The dough should not be in one big mass – this is too wet and will clog the extruder.
- Let the machine knead, before it starts toextrude the dough pause the machine and check the consistency, scraping down the sides of the machine, if necessary.
- Restart the machine and begin extruding the noodles.
- Cut noodles to your desired length.
- Immediately cook in gently boiling water for 3-5 minutes until tender.
- Rinse well and drain.
- Serve immediately or portion into smaller servings and freeze for later.
Notes
75 g tapioca flour [paid link]
1 1/2 tsp Xanthan gum [paid link] (optional – as a binder)
1/4 tsp salt
100 mL water Using a calculated 3/4 of the original recipe size we get a gram weight closer to a full batch for the viva compact: 262 g rice flour [paid link]
112 g tapioca flour [paid link]
2 tsp Xanthan gum [paid link]
1/2 tsp salt
150 mL water Nutritional values are calculated based on the full recipe as written for the philips avance.

They extruded perfectly and tasted great, but they really stuck together, in spite of rinsing them thoroughly in cold water to stop the cooking. I only cooked them 3 1/2 minutes and they were the perfect texture. I used a scale to measure ingredients by weight.
Hi Jody,
Thanks for posting. I have not had this happen. Did you happen to use the extra glutinous rice flour? There are two kinds of rice flour that have similar packaging.
My friend turned me onto your recipe for rice noodles in my pasta maker. It’s amazing!
Great Noodles. thanks for the recipe
Agree with the others. These worked perfectly in my machine.
I would not touch Xantan Gum if you pay me. Google it.
If you will have a recipe without it. I will be happy to try.
Hello Nora –
There are at least 9 different substitutes for Xanthan Gum which you could try. They are listed in the post. Let me know how it turns out.
Followed the recipe exactly and it turned out well. The rice noodles were amazing.
Unfortunately I won’t be attempting this recipe again. I went exactly by the recipe and the tips of what to do and that not to do and it almost damaged my machine. It mixed well but when it started to extrude it jammed the machine. I’ve tried to attach a photo of the machine but it won’t load.
Hi Tia,
It sounds as if your dough was too dry to extrude properly. The Philips machine requires the dough to be pretty moist in order to extrude properly. It’s a finicky machine for sure.
Are there any viable substitutes for the Xantham gum / tapioca flour?
Given the current state of the world it’s hard to go out and get these things that would otherwise be readily available.
Thanks!
Hi Josh,
Yes, indeed. The world is in a weird transition state right now. I do not know of any other radily available product. I purchase the Xanthum gum at Walmart in the gluten-free section. The tapioca flour is what the recipe called for – another user suggested potato flour also works for her but I have not tried this method.
Thanks so much for this recipe. I want to note though, the tapioca starch that you used is different from the one Give Peas a Chance uses. Although they both say tapioca starch, the Chinese description is different and they are not the same. I failed miserably in other recipes until I realized that the tapioca starch I used is not the same as one in the recipe. Finally a friend pointed out the tapioca starch difference. Interesting here that both recipes work?
Thanks for the tip LeAnn. The man at the store helped me find what I needed for what I was trying to achieve. As you can see from my photos in the recipe, that brand and my machine worked perfectly together.
I tried this recipe and the noodles came out very soft… I followed the recipe exactly as instructed above?
They are very soft but the should hold together through the extruder. I weigh the ingredients out to the exact amounts indicated each time and they turn out as they should. Perhaps, add a touch less water and only add the full amount if needed.
Yes works very well in my Phillips Noodle machine thank you
Hi, most recipes I found are with using hot water. Yours did not state that, so is it room temp water? Thanks!
Hi Leesa,
That is correct. For this pasta, I only use cool tap water.
Thanks so much for this! Have you tried this with brown rice flour? I have this machine and would love to try it out.
Hi Bella,
No, I have not tried that – let me know if you do! Sounds like it should work with some modification.
I’m wondering the same thing! Let me know if it worked for you.
So glad to find this for my pasta maker.
Hi I was wondering if you would know what the measurements would be for the Phillips viva pasta maker (compact).
Hi Sam,
I was not able to locate the electronic cookbook for your compact machine online so I was not able to compare the recipe sizes. That being said, the official Philips pasta maker website states that the Viva compact can make 400 grams of fresh pasta noodles in just 18 minutes. If I go by that, this recipe is too large for your Viva compact machine. However, if we cut the recipe in half we get a size that will work in your machine:
175 g rice flour
75 g tapioca flour
1 1/2 tsp Xanthan gum (optional – as a binder)
1/4 tsp salt
100 mL water
Using a calculated 3/4 of the original recipe size we get a gram weight closer to a full batch for the viva compact:
262 g rice flour
112 g tapioca flour
2 tsp Xanthan gum
1/2 tsp salt
150 mL water
I hope this helps and please come back by and let me know how it turned out for you. Hopefully, we can a balance that works with your machine.
I dont know why this wasn’t included w the Us version of the machine. They came out fabulous. Thanks!
Thanks for that – I’m trying it tomorrow! I tried (on a whim) to make rice-flour only (brown rice flour found at my local grocery store) noodles, and while the result was good in terms of taste, the noodles kind of fell apart while cooking. They would have been great in soup but I was making a stir fry, so they weren’t quite perfect.
Thanks for the recipe!! How can I replace the Xanthan Gum? I cannot find it in my country. Is it really necessary to make the rice noodles?
Xanthum gum is a binder for the rice flour – you can try it without but I have not tried this and cannot tell you how they will work in the pasta maker
I haven’t tried translating this but it’s a start: https://www.philips.co.jp/c-m-ho/philips-chef/recipe-overview-page#comp/philips-chef-recipes/category/noodlemaker-recipe
Thanks for the rice noodle recipe… do you know if there’s a difference between using rice flour and glutinous rice flour?
Yes – one is much more sticky when it is mixed with water. Glutinous rice flour would not work well with the Phillips pasta makes as it would gum op the extruder.
Love this as I wanted to try this too w my philips pasta maker.
Thanks for this recipe. I’ve been scouring the internet looking for it.
Thanks, Keith. I hope you enjoy it!